
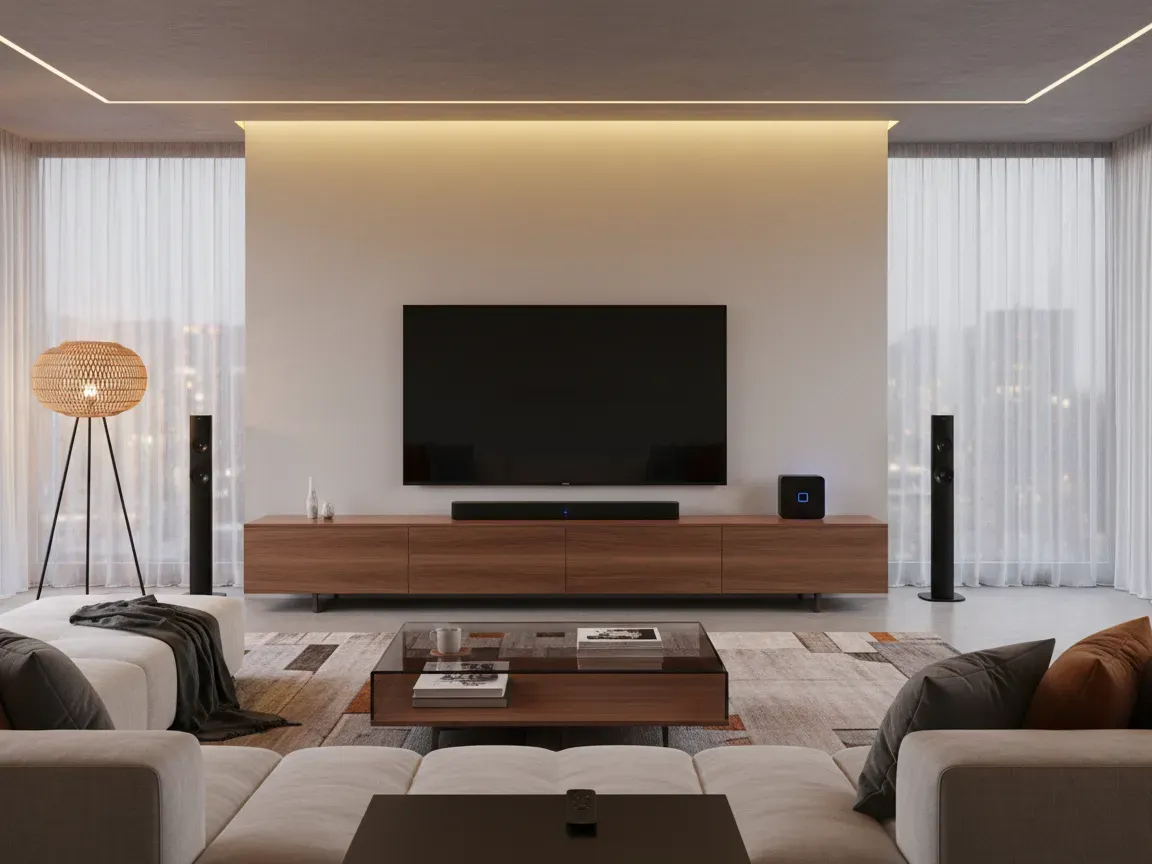
If you plug a Roku device into your television, the software immediately chooses an audio format for you. By default, it sets everything to “Auto.” While that sounds convenient, this single setting is often the reason you find yourself constantly adjusting the volume during movie dialogue or wondering why your expensive surround sound system sounds flat.
Roku’s automatic detection is designed to guarantee basic sound playback, not optimal acoustic performance. Leaving your streaming player on default often holds back your hardware. Taking a few minutes to configure the audio settings manually solves these issues and drastically improves clarity.
Why Roku’s Default “Auto” Mode Fails Your Audio Setup
The “Auto” setting relies on an HDMI handshake to communicate between your Roku, your TV, and your external audio equipment. This process regularly misidentifies what your hardware can actually handle. Instead of delivering a discrete multi-channel audio stream, the device frequently steps down to a basic two-channel mix to avoid playback errors.
This forced downmixing causes several clear problems:
- Muffled dialogue that gets buried under background music and sound effects.
- Crushed dynamic range that makes quiet scenes silent and explosions uncomfortably loud.
- Loss of dedicated surround or height channels on setups capable of 5.1 or Dolby Atmos playback.
- Noticeable volume shifts whenever you switch between different streaming apps.
By taking control of these settings yourself, you tell the Roku exactly what your speakers are capable of processing rather than letting an overly cautious algorithm guess.
How to Access and Navigate Roku’s Hidden Sound Menu
Finding the right menus takes a little exploration because Roku splits its audio tools between the global system settings and an in-playback options screen.
To adjust the core digital output formats:
- Go to the Roku Home screen using your remote control.
- Scroll down and open Settings.
- Select Audio.
- Choose Digital output format (or Audio output format depending on your Roku OS version).
- Change the selection from Auto to Custom.
There is a second menu worth checking during active video playback. While watching a movie or show, press the Star button on your remote. A side menu will appear on the left. Navigate to Sound settings to access quick leveling features, speech clarity modes, and night-listening options that are not visible in the main system menu.
Stereo vs. Dolby Digital vs. Passthrough: What the Modes Actually Do
Once you switch your output format to Custom, Roku presents you with several technical formats. Understanding how each option handles the digital bitstream makes it easy to choose the right one:
- Stereo: Downmixes all audio tracks into standard left and right channels. It is clean and reliable, but it strips away surround data entirely.
- Dolby Digital: Encodes audio into a standard 5.1-channel bitstream compatible with virtually every older soundbar, AV receiver, and television optical port.
- Dolby Digital Plus: A higher-bandwidth format used by most modern streaming services to deliver efficient 5.1 or 7.1 surround sound, including compressed Dolby Atmos tracks.
- Passthrough: Leaves the digital audio stream completely untouched by the Roku. The device passes the raw audio signal straight through the HDMI cable to your TV, soundbar, or receiver, letting the downstream hardware do the decoding.
For modern home theater gear, Passthrough is usually the purest option because dedicated audio receivers have far superior processing chips compared to a budget streaming stick.
The Best Audio Settings for Soundbars, Receivers, and TV Speakers
Different sound setups require distinct profiles to perform at their best.
Standalone TV Speakers
If you do not own an external sound system, choose Stereo under the Custom digital output format. Forcing a surround track through two small internal television speakers forces the TV to downmix on the fly, which ruins voice clarity. Pair this with the Speech Clarity mode found under the Star button menu to keep actors audible without raising overall volume.
Soundbars with HDMI ARC or Optical Cables
Most mid-range soundbars handle standard digital surround cleanly. Set the output format to Dolby Digital or Dolby Digital Plus. If your soundbar supports advanced immersive audio formats like Atmos, select Passthrough. This ensures that multi-channel streams map directly to the physical drivers inside the bar.
Multi-Channel AV Receivers
If you run an HDMI cable directly into an AV receiver or use an eARC connection through a modern TV, choose Passthrough. This allows your receiver to handle native Dolby Atmos, DTS, and multi-channel PCM signals directly. Your receiver will display the exact codec playing and use its own room-calibration curves to balance the sound.
Quick Fixes for Low Dialogue Volume and Sync Issues
If you still notice issues after locking in your audio format, two common secondary problems are easy to correct.
For low dialogue, open the in-playback Star menu and examine Volume Modes. Turn off Leveling, as this feature compresses dynamic range aggressively and can make spoken lines sound muddy. Instead, set the mode to Off or choose Dialogue Enhancer if your specific Roku model offers it. This boosts midrange frequencies where human voices live without crushing the rest of the soundstage.
For lip-sync errors, navigate to Settings, select Audio, and choose Customize audio sync. Roku provides an on-screen visual and acoustic guide that lets you shift the audio delay in millisecond increments. Running this tool fixes the processing latency that sometimes occurs when audio travels through a television before reaching an external soundbar.